

Using a food dryer to make different types of dried foods is a versatile and enjoyable process. Here's a general step-by-step guide on using a food dryer to make various types of dried foods:
1. Prepare the Food: Clean and prepare the food you want to dry. Remove any stems, pits, or seeds and slice the food into uniform pieces of the desired thickness. For fruits and vegetables, you may want to consider blanching or treating them with lemon juice to preserve color and prevent oxidation, depending on the recipe or personal preference.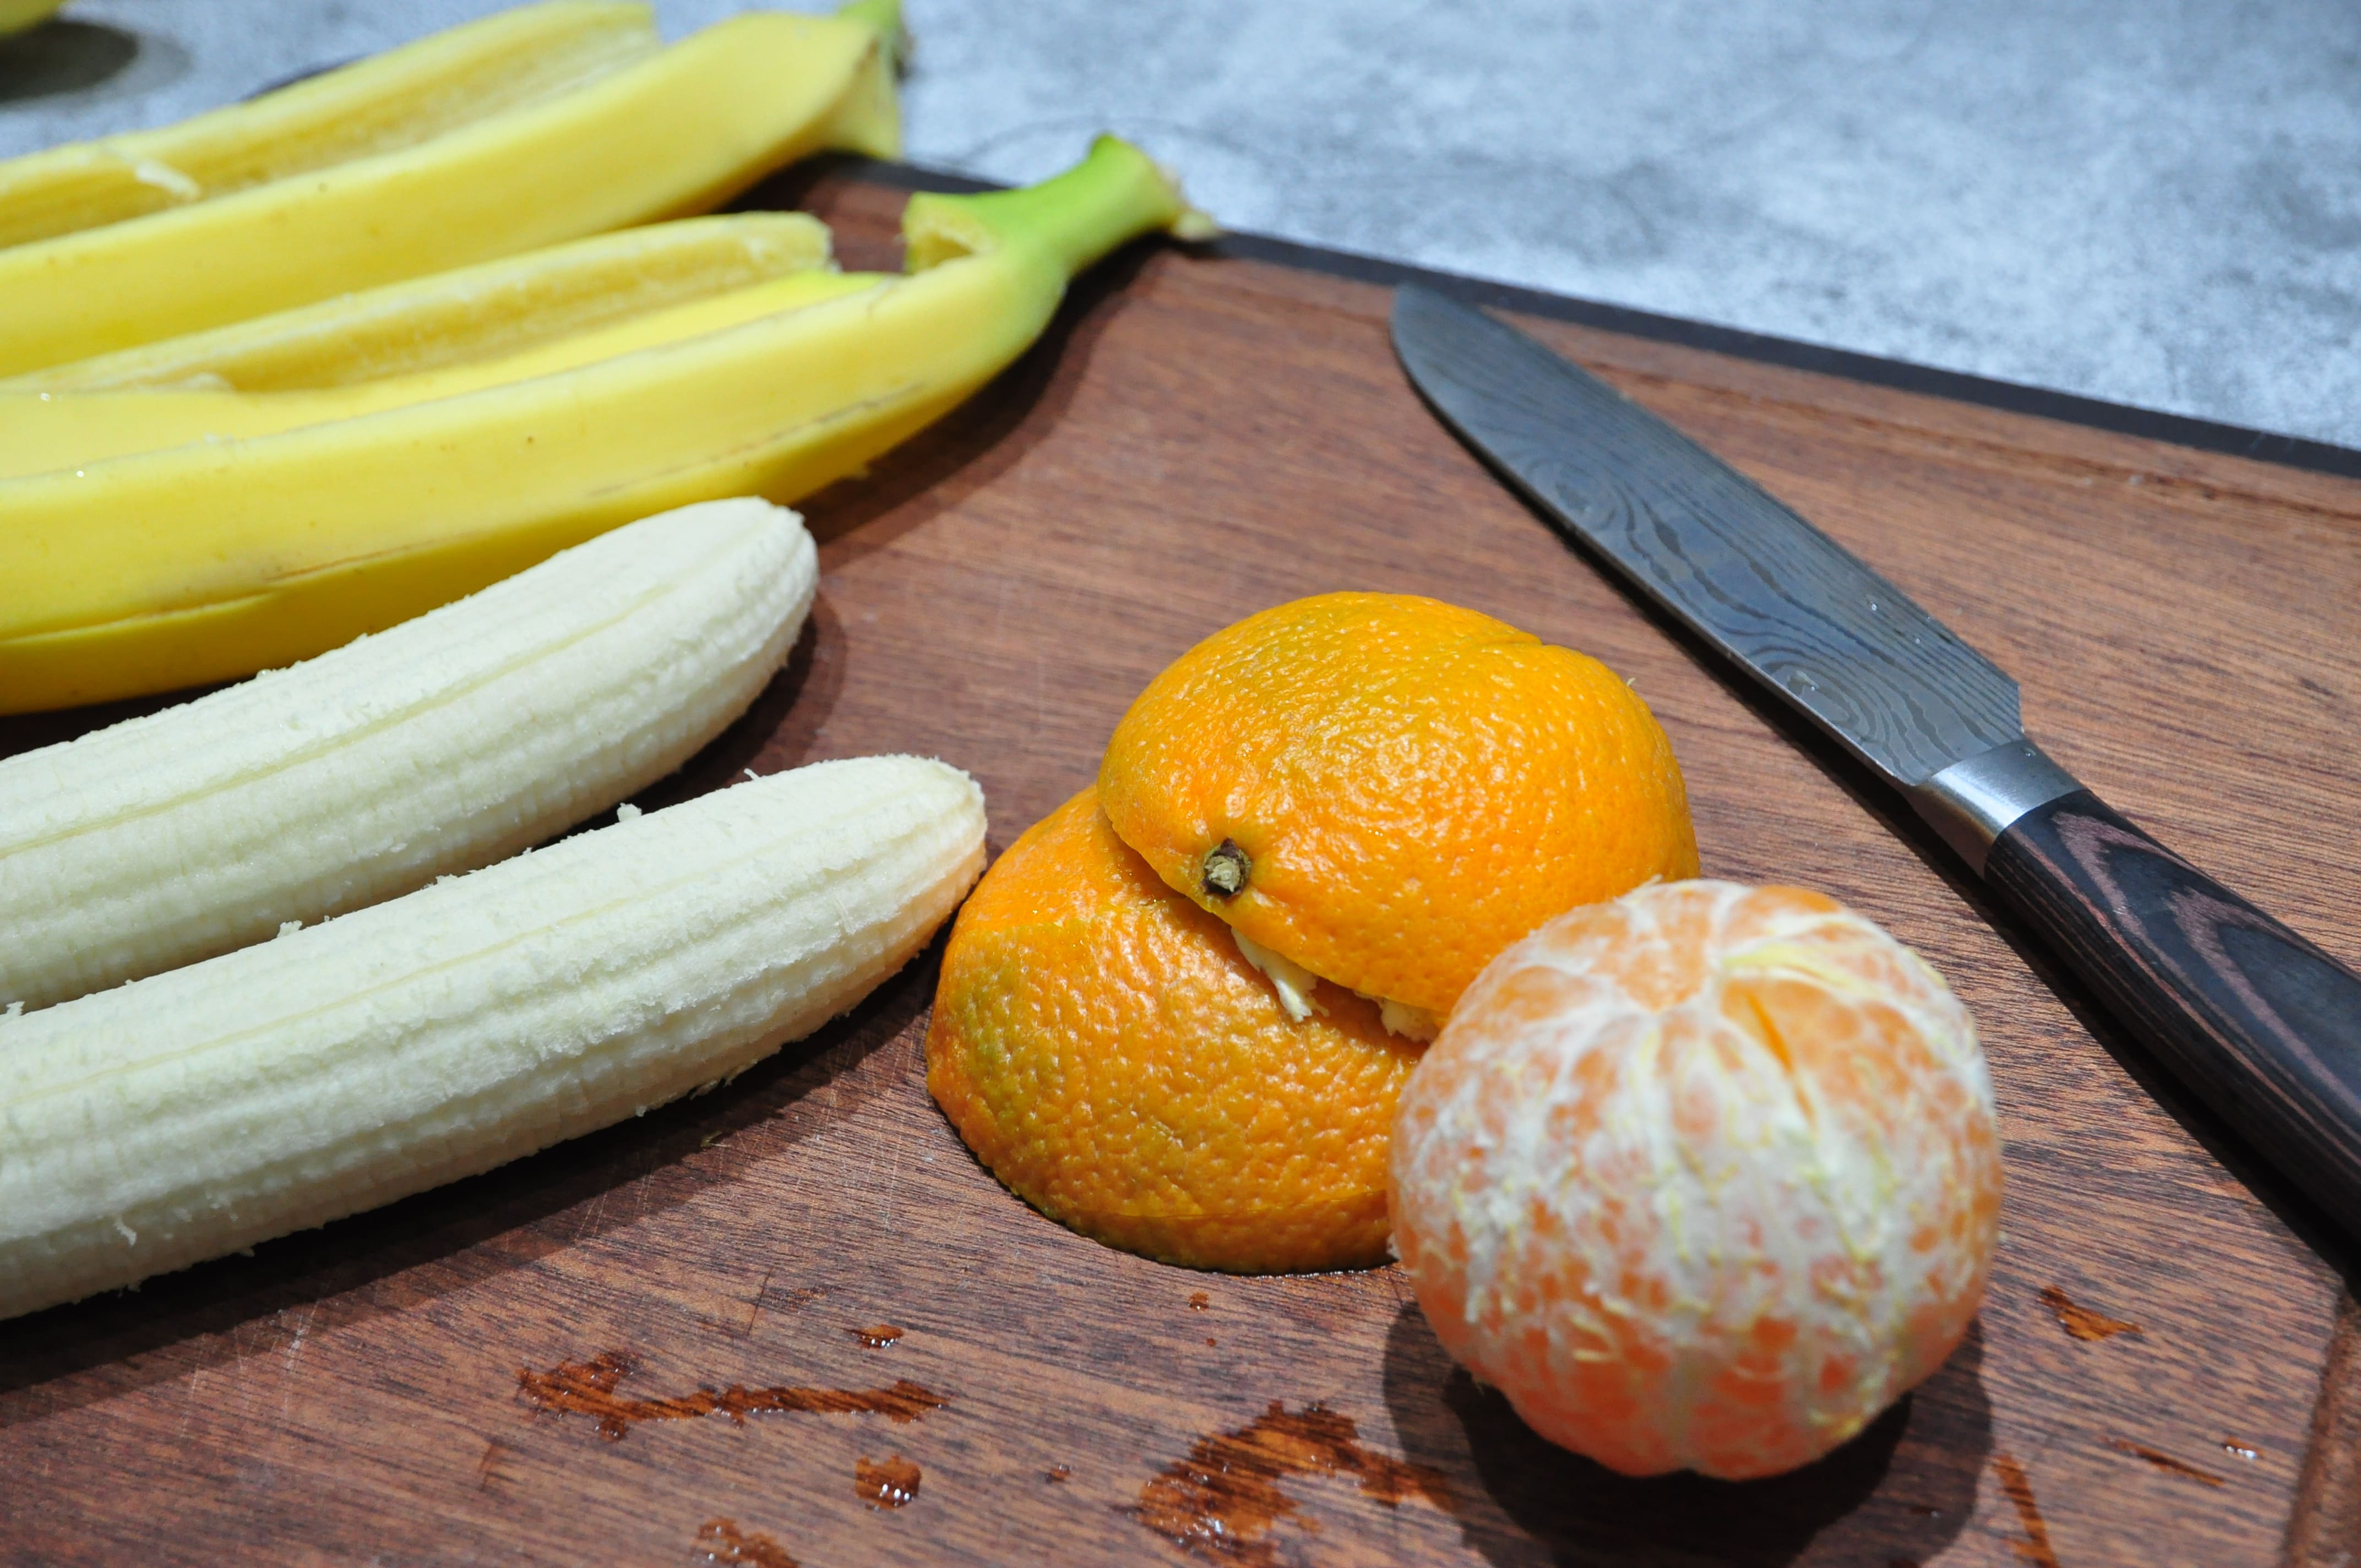
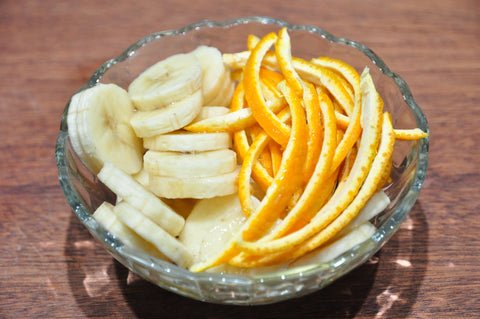
2. Arrange the Food on Drying Trays: Place the prepared food pieces in a single layer on the drying trays or racks of the food dryer. Ensure there is enough space between each piece for proper air circulation and even drying. Avoid overcrowding the trays, as it can lead to uneven drying.

3. Set the Temperature: Set the temperature on the food dryer according to the specific requirements of the food you are drying. Consult the recommended drying temperature range provided in recipes, food drying guides, or the manufacturer's instructions. Different foods have different ideal drying temperatures, so it's important to follow the appropriate guidelines.
4. Set the Drying Time: Set the initial drying time based on the estimated time provided in recipes or drying guides. Keep in mind that the actual drying time can vary depending on factors such as food thickness, moisture content, and the specific model of your food dryer.
5. Start the Drying Process: Switch on the food dryer and start the drying process. Ensure that the appliance is positioned in a well-ventilated area to allow proper air circulation.
6. Monitor the Drying Process: Regularly check the progress of the drying process. Depending on the food and the specific dryer model, this may involve periodically opening the dryer to inspect the food or using a transparent lid or window to observe the drying process without interrupting it.
7. Rotate the Trays: If your food dryer has multiple trays or racks, rotate them periodically during the drying process. This ensures even drying and helps prevent any tray position from receiving more or less airflow than others.
8. Test for Dryness: As the drying process nears completion, begin testing the food for dryness. Allow a piece of the food to cool and check its texture. It should be dry, leathery, and free of moisture. Different foods may have different desired final textures, so adjust the drying time accordingly.
9. Cool and Store: Once the food is fully dried, switch off the food dryer and allow the food to cool on the trays before removing it. Transfer the dried food to clean, airtight containers or storage bags. Label the containers with the name of the food and the date of drying. Store the containers in a cool, dry place away from direct light or moisture.
10. Enjoy and Experiment: Your homemade dried foods are now ready to be enjoyed! Experiment with different combinations of fruits, vegetables, herbs, and spices to create unique flavors and blends. Use the dried foods in recipes, as snacks, or as ingredients in various dishes.
Remember to consult specific recipes, guides, or manufacturer's instructions for recommended drying times, temperatures, and any additional steps or considerations specific to the food you are drying. Enjoy the process of exploring the world of homemade dried foods and discovering your favorite flavors!
Tap to learn more recipes: https://www.septree.com/blogs/recipes